


The project
So if you want to save notes and share them with a community, DevEnv is good for you. But wait there's more! keep reading. Here are the project files if you are too lazy to read them.
URL - devenv.tronic247.com
GitHub repository - github.com/Posandu/devenv
The Idea
Every time I code something, I search for the same code over and over again. So I thought
What if I save them in a place where anyone can see them?
And then I started creating this. I was a pretty beginner in Next.js and Typescript (haven't used it 🤣) that time so this was going to be an adventure for me.
Tech stack
So basically I used this stuff to create the app.
- Next.js as the backend
- Postgres as the database
- Typescript for the codebase
- Auth0 for authentication
- Tailwind CSS, Material UI (MUI) as the frontend UI framework
And finally, I hosted it on Netlify.
Features
There are some awesome features you will like in this app.
Create notes
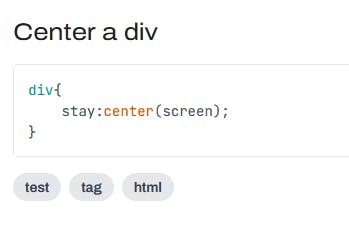
Users can create notes, add a background to them select some labels, add tags and make it public or private. And the best thing is, it supports markdown. So you can write code blocks, add images, add links, etc.
Tags
So basically this is just tags like #hello #world, this way you can identify more about a note.
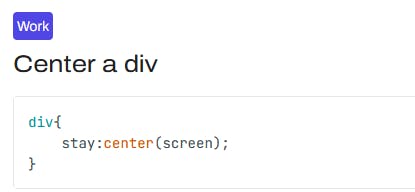
Labels
Now you are thinking why tags and labels? good question. Labels are different from tags they can have custom colours and they can be filtered easily. So this method is useful when you want to sort stuff like coding and other stuff.
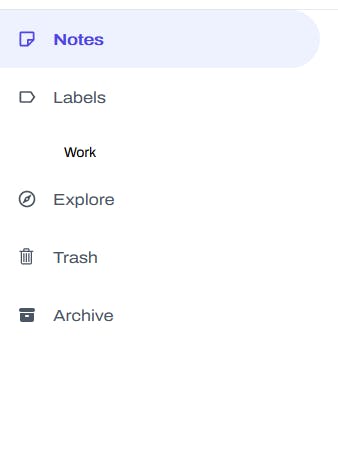
They are viewable as a separate item on the left nav menu.
Explore
This is where you can find other members' notes that they made public. You can type something on the search bar and search for some code.
Archive items
If you want to create a note and don't want to delete or edit it, you can archive it. So you can make it read-only. This way you can save some old but important stuff isolated.
Developing it
I started creating a basic next project with typescript and connecting it to a database. Then the funny thing I did was create a to-do app that syncs with the database. (I didn't know typescript at that time) Then after creating that I knew typescript and nextjs. So I started creating a new app (again).
The frontend
I knew Tailwind CSS, MUI and React. So the frontend was easy to build. First look at some designs on Dribbble and I created components individually with MUI. And when adding them together, I used Tailwind. And thanks to Firefox devtools I created a responsive design. (I Googled some stuff too) And I used a font called Archivo because it's very unique and gives the project a modern look.
The backend
I have heard about Auth0 before so I used it. And it was easy integrating it with my app. And then I used Prisma for communicating with the database. Next API routes were really helpful for me to do backend tasks.
Behind the scenes
The database
The database something looks like this
id | name | details | tags | owner
Each time a note is created, the system validates the data and save them. So we add the labels a different way. So imagine if you have 2 labels in the database table like this,
id | name | color | owner
1  |  css    |    1     |  you
2  |  c#     |    2    |  you
Now when you select those labels and create the item, this happens.
- First it creates the item
- Then get its data (id)
- Checks whether the labels exist
- Then, there is a table that looks like this
| id | itemId | LabelId || id | itemId | LabelId | | rand() | (the item id) 1 | 1 | | rand() | (the item id) 2 | 2 |
Authentication
This is a very serious part. The stuff that happens in the authentication is
- First the user is logged in
- Then in the backend, we get the user data (only the user id and email).
- Every time you work with the app, it checks if you are logged in or not.
- The user ID (something looks like auth0|5455rand454454data) is used in the database
- The email is only for showing the user
What I learned
I learned a lot of stuff by doing this project,
- Typescript
- Next JS
- Prisma
- Postgres
- About Netlify
- TailwindCSS
- How to design
Wrapping up
So now you read this much, I'm going to end this. By the way, this is my submission for the Hashnode x Netlify hackathon.
You can connect with me now
- Email - posandumapa@gmail.com
- Discord - Posandu#6343
- Twitter - @posandu